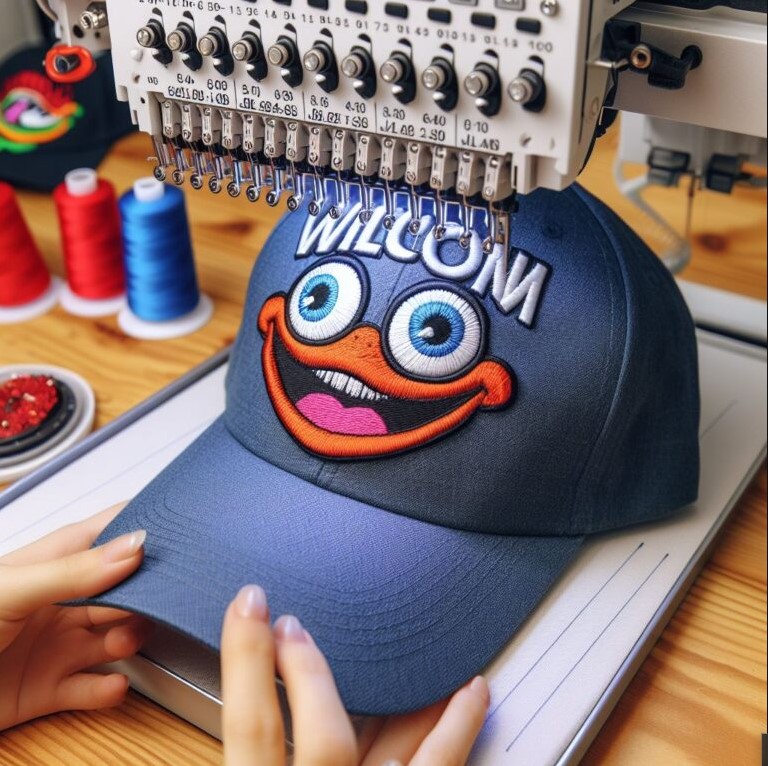
Hat embroidery is a popular choice for custom apparel, branding, and merchandise—but digitizing for hats isn’t the same as digitizing for flat garments. Caps are curved, structured, and often have limited stitching space, making accurate digitizing essential for crisp, professional results.
In this complete beginner-to-intermediate guide, we’ll walk you through the hat embroidery digitizing process from preparing your file to executing that perfect final stitch. If you're short on time or want flawless results, you can always rely on Digitizing Buddy for expert digitizing services tailored specifically for hats.
Why Hat Embroidery Digitizing Requires a Unique Approach
Unlike t-shirts or flat fabric, hats are curved and rigid, which creates challenges such as:
- Limited embroidery area (especially on the front panel)
- Risk of distortion due to the curve
- Needle deflection or skipped stitches on structured caps
- Need for a center-out and bottom-up stitching approach
Digitizing a design for hats means more than just resizing—it requires understanding how thread and needle behave on a three-dimensional surface.
Step 1: Preparing the Artwork
Before digitizing, start with a clean, high-resolution logo or design. The simpler, the better—especially for hats, where space is tight.
Tips:
- Use bold fonts for text and avoid tiny letters
- Avoid thin lines or excessive detail
- Use vector artwork (SVG, AI, EPS) if possible for best results
- Convert text to outlines before sending to your digitizer
Step 2: Choosing the Right Hat Type
Different hats require different digitizing strategies:
| Hat Type | Notes |
| Structured caps | Stiff front, better for bold, flat designs |
| Unstructured caps | Softer, contours to the head, best with flexible stitch directions |
| Trucker hats | Mesh back—front panel only is embroiderable |
| Beanies | Often embroidered using flat techniques |
| 5-panel caps | Good for designs that go across a wide front panel |
Knowing the hat type helps you digitize accurately for the curve and stability of the material.
Step 3: The Digitizing Process (Best Practices)
This is where the magic happens. If you’re digitizing yourself using software like Wilcom, Hatch, or Embrilliance—or sending to a pro—follow these guidelines:
Use Center-Out, Bottom-Up Stitch Order
This helps reduce puckering and keeps the design aligned on the curved surface.
Apply Underlay Stitches
Use edge run or center run underlay to stabilize the cap fabric.
Choose Satin Stitches for Letters
For text under 0.5”, satin stitches are ideal for clean lettering.
Keep Design Height Under 2.25”
Most commercial hats can’t embroider taller than ~2.25 inches on the front panel.
Watch for Density
Too much stitch density can break needles or cause the design to "sink" into the cap. Keep it balanced.
Step 4: Test Stitching & Tweaking
Always test stitch your file before running it on a batch of hats. Look for:
- Pulling or distortion
- Uneven or missing stitches
- Poor registration of text or borders
- Too much stiffness or thread buildup
Adjust density, underlay, and pathing if needed.
Best File Formats for Hat Embroidery
Different machines require different formats. Here are common ones used for cap embroidery:
| File Format | Compatible Brands |
| DST | Tajima, Ricoma, Melco (industry standard) |
| PES | Brother, Babylock |
| JEF | Janome |
| EXP | Bernina, Melco |
| VP3 | Husqvarna Viking, Pfaff |
For best results, digitize directly into the format your machine uses.
Bonus Tips for Hat Embroidery Success
- Use a cap frame/hoop for accurate placement
- Apply a tear-away stabilizer behind the front panel
- Use high-quality polyester threads for durability and sheen
- Slow down machine speed to improve accuracy on structured caps
- Use cap-specific needles (75/11 or 80/12 sharp or ballpoint depending on fabric)
Fast-Track Your Success with Professional Hat Digitizing
Digitizing hats can get technical—especially when dealing with logos, complex text, or unique hat styles. If you're short on time or want commercial-quality stitching, let the pros handle it.
Digitizing Buddy specializes in hat embroidery digitizing, offering:
- Accurate center-out pathing
- Proper underlay & density
- Format-specific files (DST, PES, etc.)
- Fast turnaround
- Friendly support for beginners and pros
Just upload your logo or artwork, specify your hat style, and they’ll take care of the rest.
Final Stitch: Make Your Hats Stand Out
Whether you're customizing caps for a brand, sports team, or business, quality digitizing is the secret to a professional finish. Understanding how to digitize for curved surfaces, selecting the right file format, and test stitching are all key to great results.
And if you're ever unsure? Trust Digitizing Buddy to deliver stitch-perfect files, every time.


